In the previous article, we have seen how to benefit from the new wimboot feature of MS Windows 8.1 using the DISM command.
Thanks to the free/opensource WimLib, let’s now see how we can proceed with the capture/apply phase. This WimLib method will be similar to the DISM one.
Since Wimlib 6.3, you no longer need a Windows 8.1 Update 1 source which means you can use any Winpe 3/4/5 version !
Here below the procedure (we assume Win8.1U1 is already installed on C drive):
1-Lets make a WINPE out of windows (7 or 8) iso/dvd (I use QuickPE) .
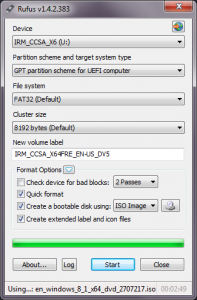
2-Boot onto this Winpe (I use rufus to « burn » the winpe iso onto USB).
3-Capture the installation : wimcapture.cmd c:\ e:\install.wim --wimboot
Note : e:\ is a second partition on my hard drive.
Note : wimlib binaries are in x:\extra\wimlib if you used QuickPE.
4-Format C drive (so that we start from a fresh drive)
5-Apply our wim file (from step 3) to my C drive : wimapply.cmd e:\install.wim c:\ --wimboot
Note : before step 5, you may want to perform the following command wimlib-imagex update install.wim 1 --command="add CustomWimBootCompress.ini \Windows\System32\WimBootCompress.ini" in order to fully apply bootmgr files (and not use pointers to the wim file).
Here is the customewimbootcompress.ini.
This applies only if you have one unique boot & system partition which is nowadays rarely the case as Windows always created a hidden/reserved partition for the boot files.
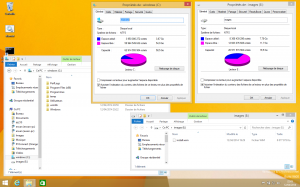
And voila, you should end up with a C drive occupied by only 250 MB (before 1st boot where pagefile.sys and hyberfil.sys will be created).
