In a previous article, we had seen how to backup a disk (offline) with CloneDisk over the network using a windows share.
Thus, a windows share is not always handy and fast.
Lets see how to make a backup over the network easier and faster using DevIo.
Here below the different steps to backup or clone a (physical or logical) disk (hosting any operating system) using WinPE and CloneDisk + DevIO.
1.Getting tools
First, lets get the needed files and prepare our working folder :
QuickPE and unzip it to x:\quickpe.
CloneDisk and unzip it to x:\quickpe\extra
2.Preparing
Now, lets prepare our WinPE iso.
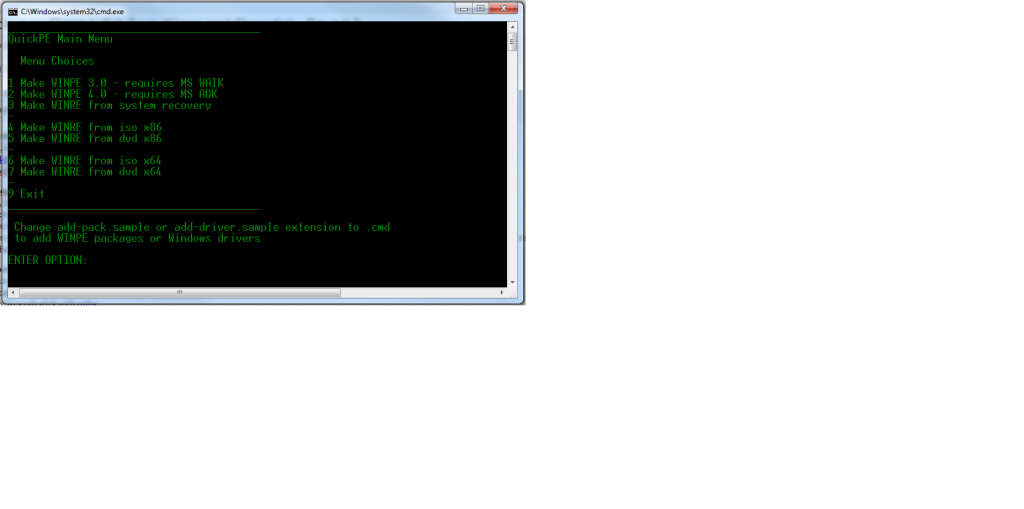
launch _RUN_ME.CMD.
If you have MS ADK or MS WAIK already installed then choose option 1 or 2.
If you dont have these (or have no idea what this is), choose option 4 or 6 if you an MS Windows ISO at hand, or 5 or 7 if you have a MS Windows DVD at hand.
Let the batch run.
3.Booting
At this point, you have an iso file in x:\quickpe\x86 named winxx.iso.
you can either burn it to cd/dvd (easiest path),
« burn » to a usb stick with rufus,
or (more complex) boot it thru pxe (using these guides).
4.Target
The target is the host where you will backup/dump your disk, over the network.
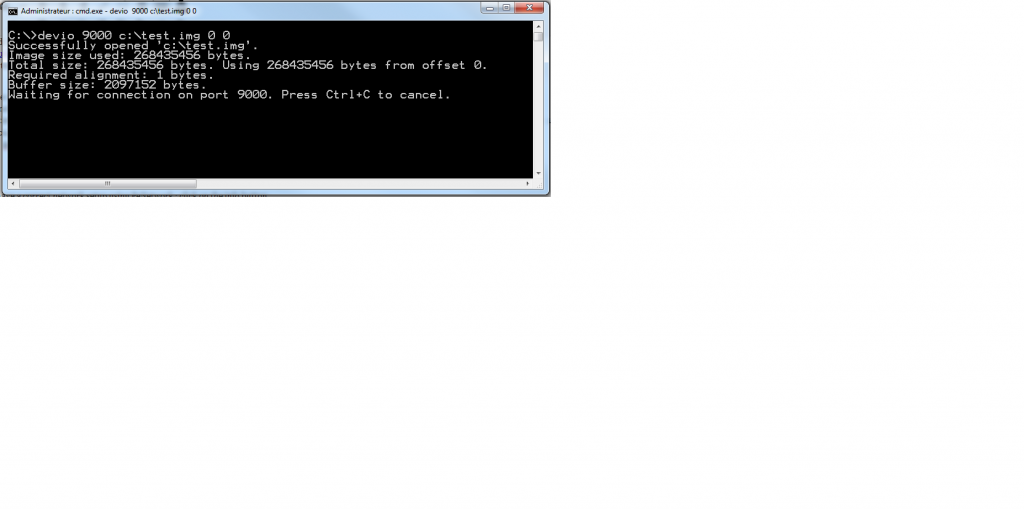
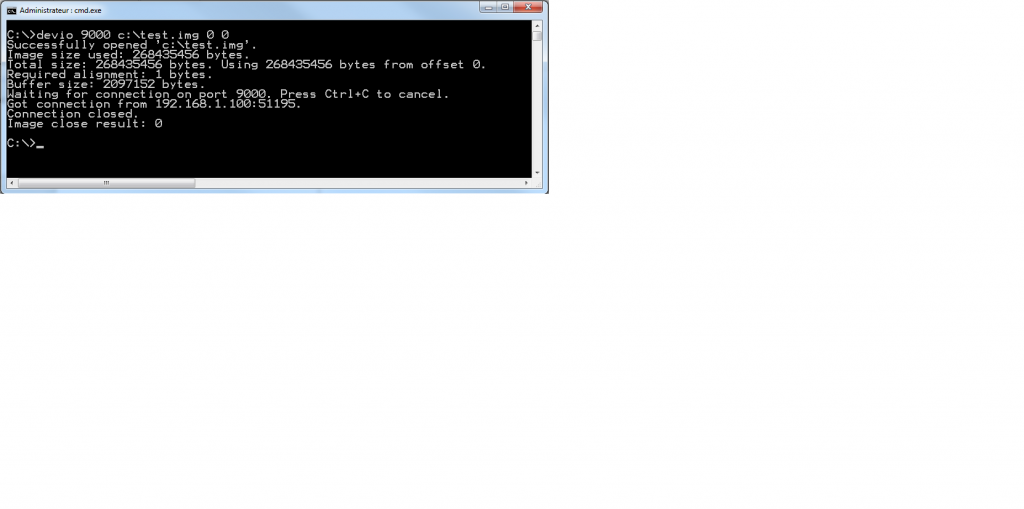
From a command line, launch devio 9000 c:\dump.img 0 0 .
Note that disk.img must exist and must be at least as big as the source disk : CloneDisk can do it for you (under virtual disk / make raw disk) or use the linux command : dd if=/dev/zero of=disk.img bs=268435456 count=1 (268435456 is 1024*1024*256=256MB).
Note that you can compile devio for different hosts (windows, linux, etc) or else you can also run the windows exe on ubuntu (needs wine) if you are lazy (like me).
5.Backuping
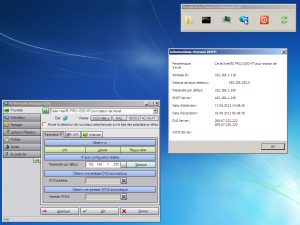
Once booted, ensure you have a correct network setup using PeNetwork : click on the info button.
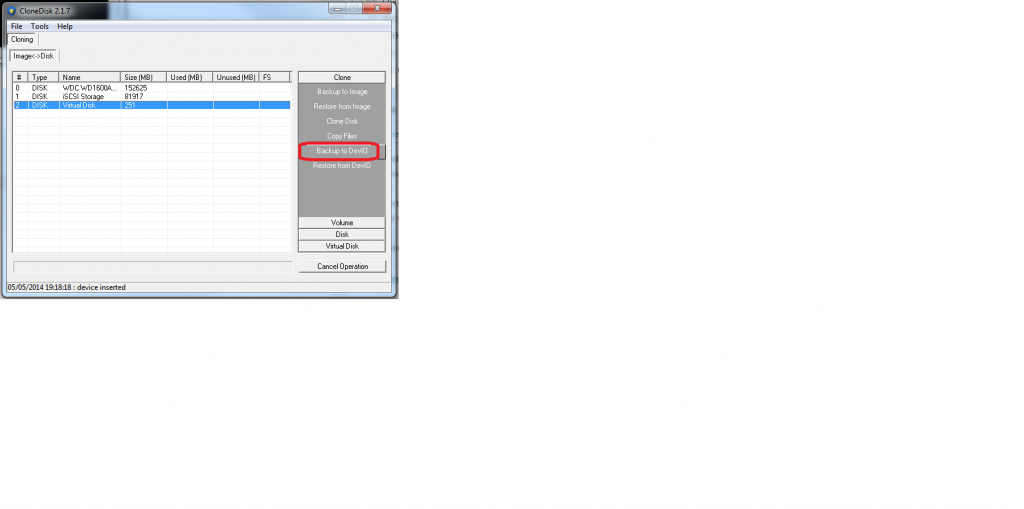
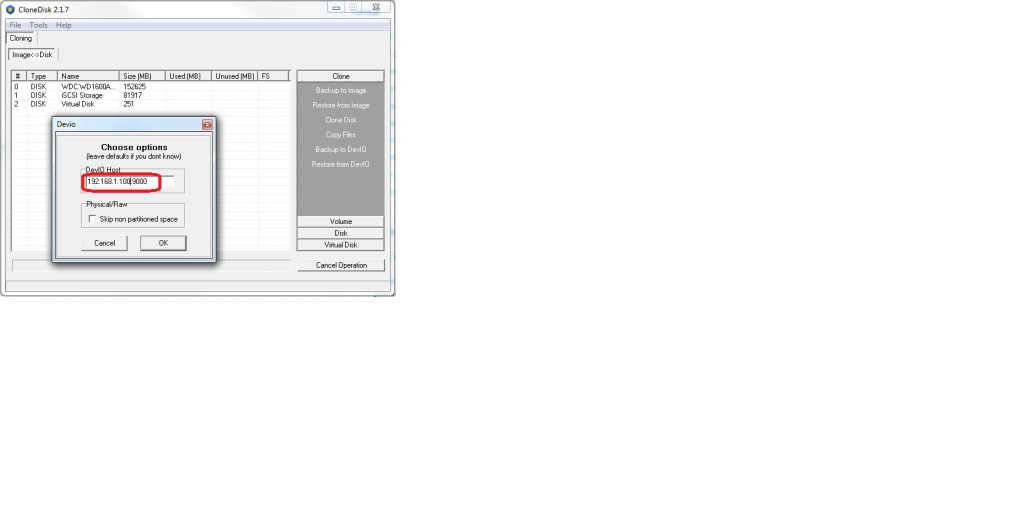
Now, launch clonedisk from x:\extra\clonedisk folder, choose your source drive and lets backit up to a devio target (see step 4).
Once CloneDisk has completed its backup, you should see Devio close its connection.
