Déc 122015
Just received my esp2866.
Read more about it here.
In short it is a wireless soc which you can control from a MCU (like Arduino) thru serial OR use directly as MCU (from Arduino IDE).
First things first : lets flash it with the latest firmware.
1-get the firmware here.
2-get the flasher here.
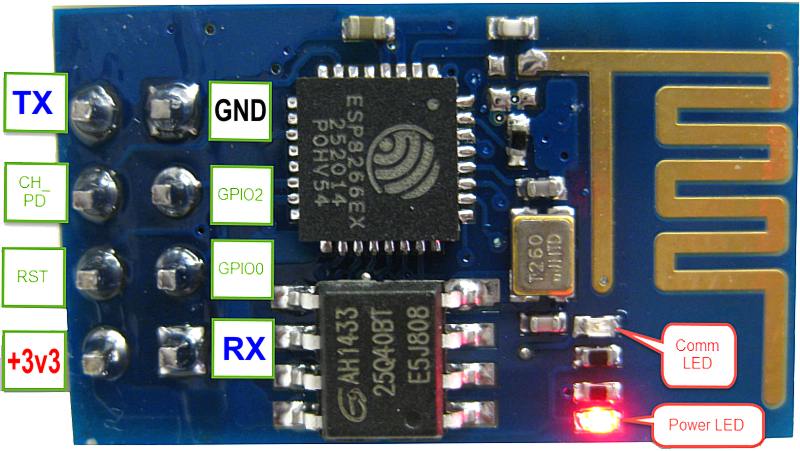
3-wire 3v3 and ground.
4-wire tx to rx, and rx to tx (I use a usb to serial ftdi adapter)
5-set gpio0 to low (ground)
6-reboot (power off/on will do)
7-flash
8-set gpio0 free
9-reboot and enjoy
[…] a previous article, we saw how I flashed my new […]