Août 232015
 

A new version is out.
Manu additions and bug fixes.


changed : use IOCTL_DISK_GET_PARTITION_INFO_EX to retrieve part size when backuping/restoring/cloning
changed : common code for prep source and prep dest when backuping/restoring
added : vdh informations
modified : copyfile uses xcopy only if psexec not in the folder
added : get boot sector work with \\.\PhysicalDrivex syntax
added : reach boot sector from partition table
modified : get_bs and set_bs now get an offset optional parameter (to possibly skip asking the user)
modified : can create more than one gpt partition
added : can modify a gpt partition type
added : can modify a gpt partition attributes
added : can create a virtual disk (raw) in mb/kb/byes
fixed : taborder in mbr and bs form
fixed : config called later in formcreate
added: enable_advanced=1 option in config
fixed : _restore_bs to work with \\.\PhysicalDrivex syntax
added : lock & dismount volume(s) when writing BS to physicaldrive
todo : prep drive before cloning
modified : getdrive works will all medias
modified : _get_infos will not crash on GetDriveLayoutEX (x32)
modified : increased getdrivelayoutex buffer size (x32)
added : extra partition types in part editor (x32)
modified : grayed out menus based on gpt/mbr in part editor (x32)
modified : check on total size in wipe (x32)
modified : change backup_drive signature (mode parameter removed) (x32)
modified : backup_drive signature now accepts offset parameter (x32)
modified : restore_drive signature now accepts size & offset parameters (x32)
added : can backup/restore from part editor (x32)
added : disks in gray in main window (x32)
modified : disks and parts are displayed by default (x32)

 Posted by at 15 h 02 min
Jan 302015
 

In some specific situations, you may want to backup only one partition but still wish to boot it as a disk image.
Lets see below how to turn a partition image into a disk image.

Before we start, have a a look at the below disk layout to have a better understanding of items such as MBR, BS, Disk and Partition.

1.Create a 1 MBytes (2048*512=1MB) header file (under virtualdisk, create raw disk image)
Note : instead of 2048 sectors, you can go for 63 or 128 or whatever « sectors before » may suit you – just report that number in the following steps.

2.Append this header to your partition image using the dos command line copy /b header.img+part.img disk.img

3.Adapt MBR type=07 (for ntfs), boot=80, chs start & end=1023*254*63, sectors before=2048, sectors=bootsector.totalsec+1
(You need to untick « hide advanced menu » under tools menu to enable advanced screens in CloneDisk).

4.Inject boot code (nt6) (this will also fix the mbr magic byte AA55).

5.Adapt bootSector hiddensec=2048 so that it matches MBR sectors before field

You are now ready to boot this image as it has all it requires to boot :
-a disk boot record
-a partition table
-a boot sector
-a consistent BPB (bios parameter block)

 Posted by at 19 h 05 min
Jan 242015
 

Lets start with a definition of the MBR :
A Master Boot Record (MBR) is a special type of boot sector at the very beginning of partitioned computer
mass storage devices. The MBR holds the information on how the logical partitions, containing file
systems, are organized on that medium.
Besides that, the MBR contains executable code to function as an operating system-independent chain boot loader in conjunction with each partition’s Volume Boot Record.

To make simpler, if a disk is a book, the mbr is the index table to quickly jump to each partitions.
MBR and GPT are just 2 different ways of writing that index (GPT handles a higher number of partitions and also bigger partitions).

So how to convert a GPT disk to MBR?

1.Write down the offset and length of your partition(s)

2.Delete the disk layout (this will not delete any datas, « only » the partition table and boot loader if any)

3.Create Disk (MBR style)


4.Create partition(s) with correct offset (most important) and length. Note that you can always correct these later by editing the MBR (advanced tools).
Choose IFS for a NTFS filesystem, or FAT32.


You end up with a MBR disk with a partition table similar to the GPT you previously had.
Note that you may want to inject a boot loader (nt6, g4d, etc) if this disk is a boot system one.
Also, this operation works the other way : MBR to GPT.

 Posted by at 19 h 20 min
Juil 142014
 

Changes since last changelog.

Discuss it here. Download it here.

changed : using IOCTL_DISK_GET_LENGTH_INFO in main screen rather than disk geometry to retrieve (correct) disk size
added : user confirmation on disk online/offline/rw/ro
added : display disk serial number (in disk properties)
added : display disk cache information (in disk properties)
added : display disk attributes (in disk properties)
changed : update int13 unit with IOCTL_DISK_GET_DRIVE_GEOMETRY_EX instead of IOCTL_DISK_GET_DRIVE_GEOMETRY
changed : moved most disk management (GET) functions to a separate unit (http://msdn.microsoft.com/en-us/library/windows/desktop/aa363979(v=vs.85).aspx)
changed : renamed clone_disk method to clone
fixed : _GetDiskLength
added : _GetPartLength
added : backup_ewf & restore_ewf
added : zero out unused (ntfs) clusters
added : CompactVirtualDisk
added : backup to fixed vhd (raw image+footer)

 Posted by at 22 h 22 min
Mai 212014
 

You built this perfect VHD and you decide to call it parent.

Now life needs to go on and changes need to be introduced to your disk but you want to be able to revert back to your parent if needed.
Or else, at some point you decide that changes introduced since your last parent needs to be merged in your master.

In order to achieve the above (revert or merge) we will create a second VHD called child.

Lets see how to do it with CloneDisk (5 actions/steps)

1-Create/attach our parent

diff_vhd1

2-Create a file named parent.txt on the new logical drive

3-Detach it

At this point you should no longer introduce changes in your parent VHD until you decide to revert or merge

4-Create/attach our child but this time we will indicate which one is a parent (created in step 1)

You will get again a new logical drive and parent.txt will already be here.

diff_vhd2

5-Create a file named child.txt

That change will « only » be applied in child.vhd, not parent.vhd.

Now you can either merge it or revert it (i.e delete it) whenever you feel like it.


 Posted by at 20 h 21 min
Mai 072014
 

Changes since last changelog :

Discuss it here. Download it here.

added : change diskid in partition editor
changed : increased buffersize from 64k to 512k to speed backuping process
changed : will write win8.1u1 mbr and bs (compatible with all previous windows NT)
added : md5 hash for file
added : hide_advanced boolean param in config.ini (options section)
added : screenshot
added : can remove an outlookbar button or page via the config.ini (outlookbar section)
added : can inject any MBR boot code
modified : changed all desktopcenter to screencenter
added : patch bytespersec / sectorsperclus / secreserved in boot sector
changed : bootsector patches for MSDOS5.0 (fat/fat32) as well (was only for oemid=NTFS)
changed : renamed offlinereg unit to uofflinereg
changed : changed window size to 640*480
changed : pagecontrol3 for more space in main screen
changed : disk/partition properties rewiewed (no access to mbr/bs anymore, all windows api)
added : disk/part properties in a separate window
changed : tabsheet4 removed (disk/part properties)
added : double click on the main listview will also display the disk/part properties window
changed : tabsheet8 removed
added : change diskid in mbr tab

clonedisk218_1


clonedisk218_2

 Posted by at 19 h 35 min
Mai 052014
 

In a previous article, we had seen how to backup a disk (offline) with CloneDisk over the network using a windows share.
Thus, a windows share is not always handy and fast.
Lets see how to make a backup over the network easier and faster using DevIo.

Here below the different steps to backup or clone a (physical or logical) disk (hosting any operating system) using WinPE and CloneDisk + DevIO.

1.Getting tools
First, lets get the needed files and prepare our working folder :
QuickPE and unzip it to x:\quickpe.
CloneDisk and unzip it to x:\quickpe\extra

2.Preparing
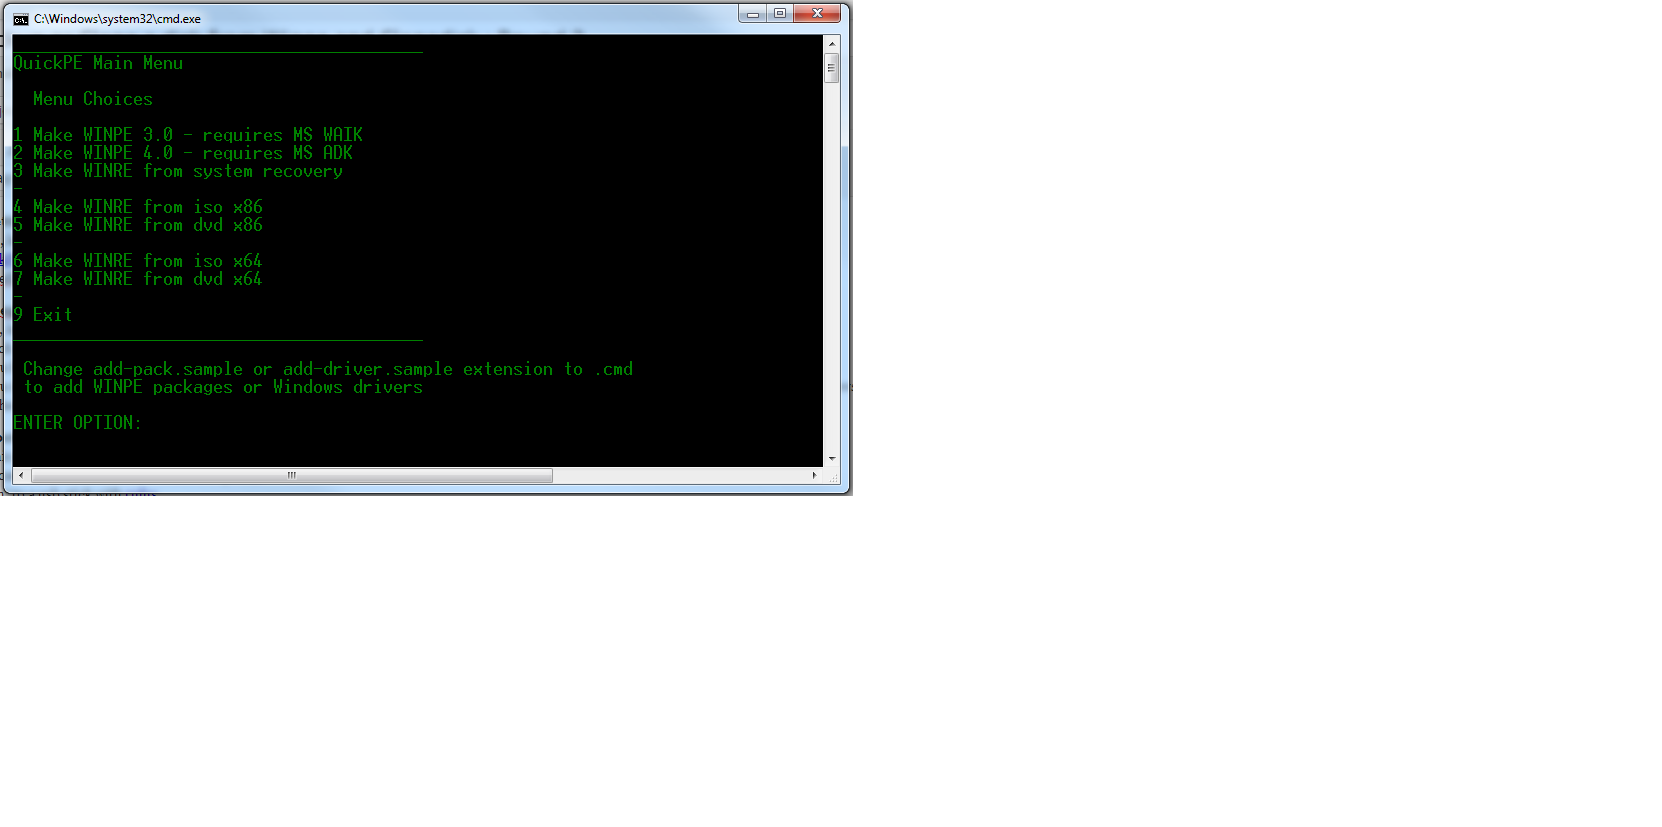
Now, lets prepare our WinPE iso.
launch _RUN_ME.CMD.
If you have MS ADK or MS WAIK already installed then choose option 1 or 2.
If you dont have these (or have no idea what this is), choose option 4 or 6 if you an MS Windows ISO at hand, or 5 or 7 if you have a MS Windows DVD at hand.
Let the batch run.

quickpe2

3.Booting
At this point, you have an iso file in x:\quickpe\x86 named winxx.iso.
you can either burn it to cd/dvd (easiest path),
« burn » to a usb stick with rufus,
or (more complex) boot it thru pxe (using these guides).

4.Target
The target is the host where you will backup/dump your disk, over the network.
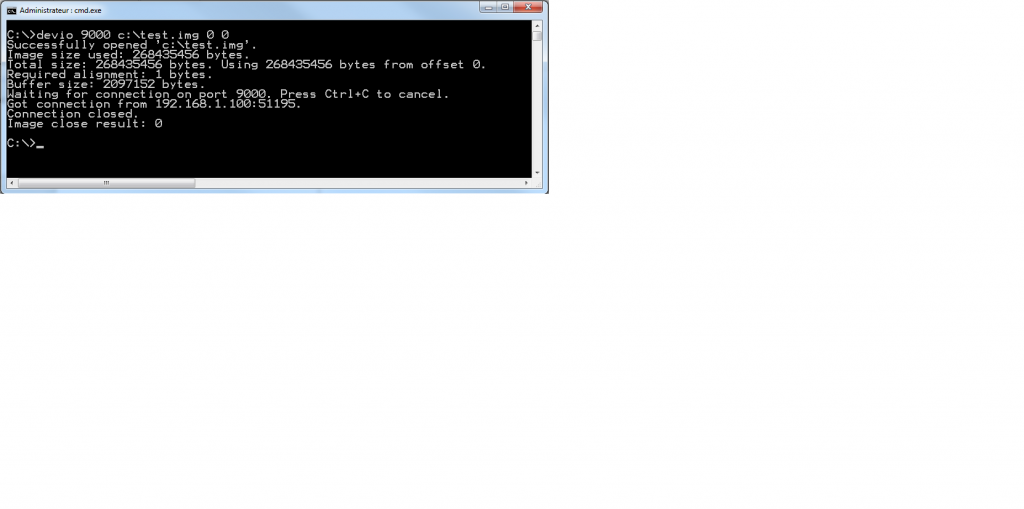
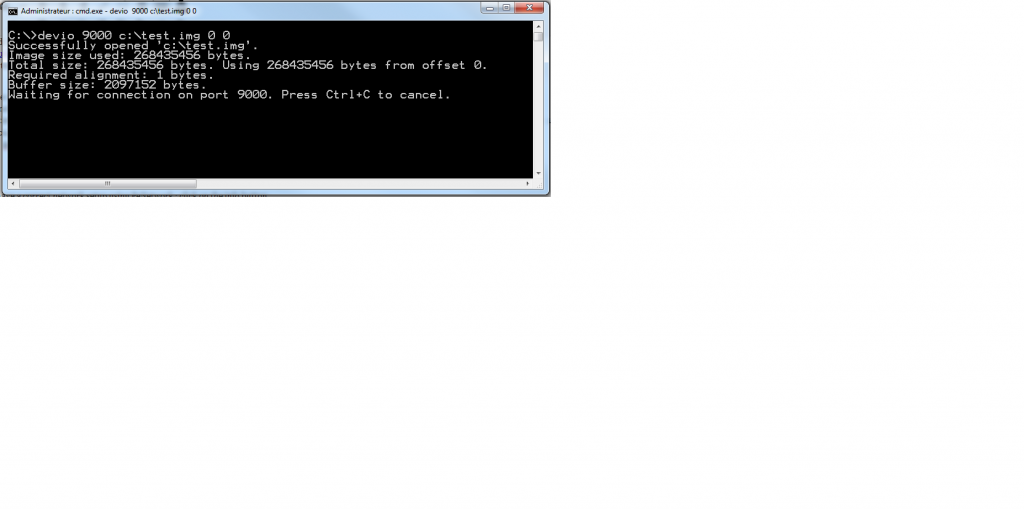
From a command line, launch devio 9000 c:\dump.img 0 0 .
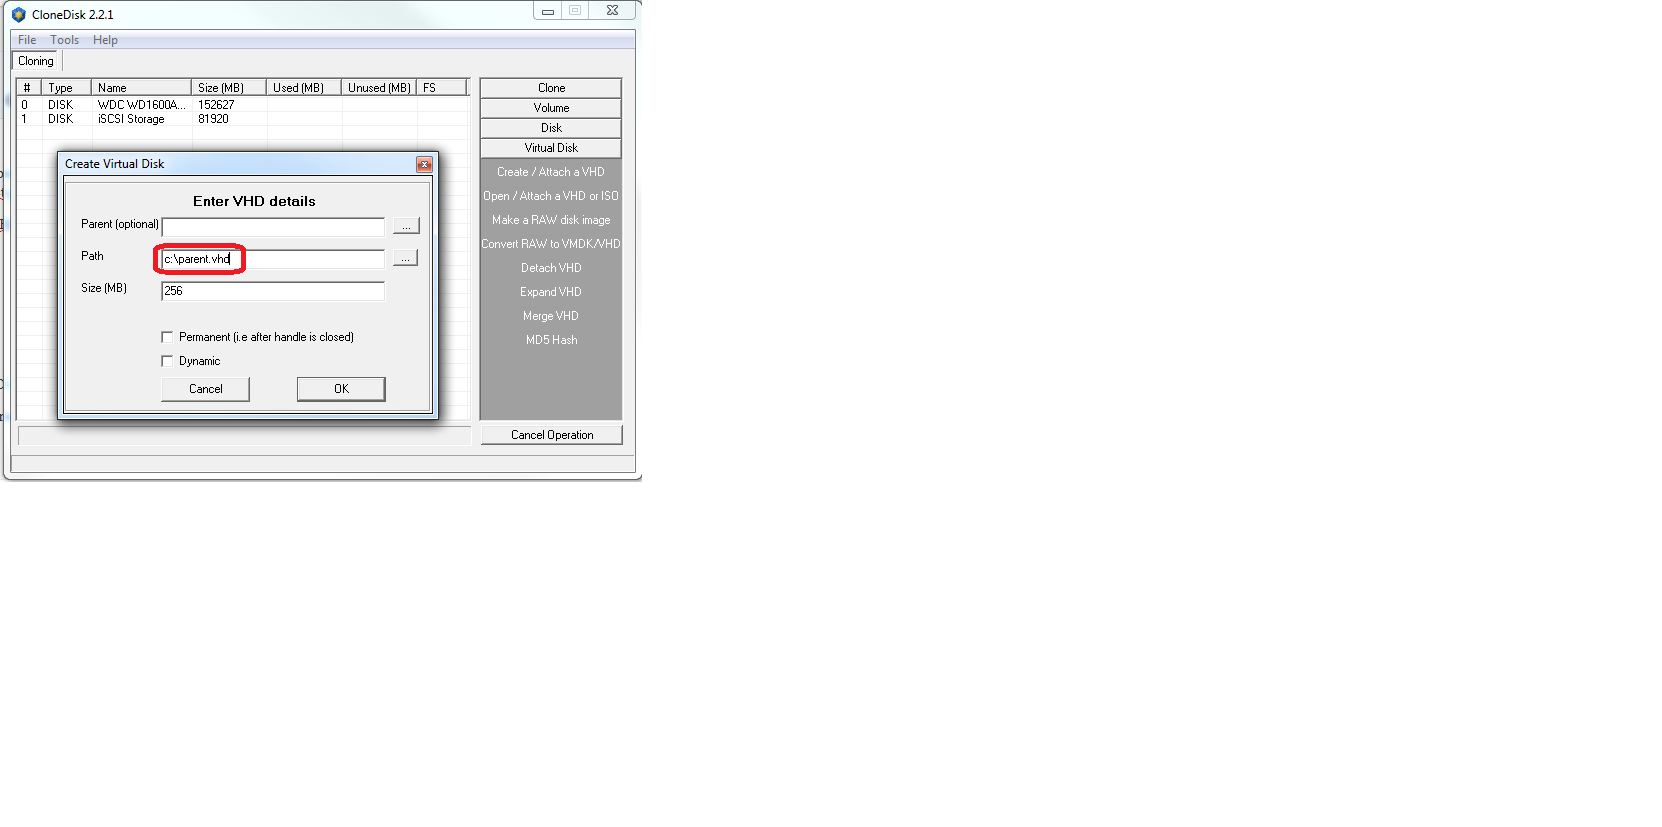
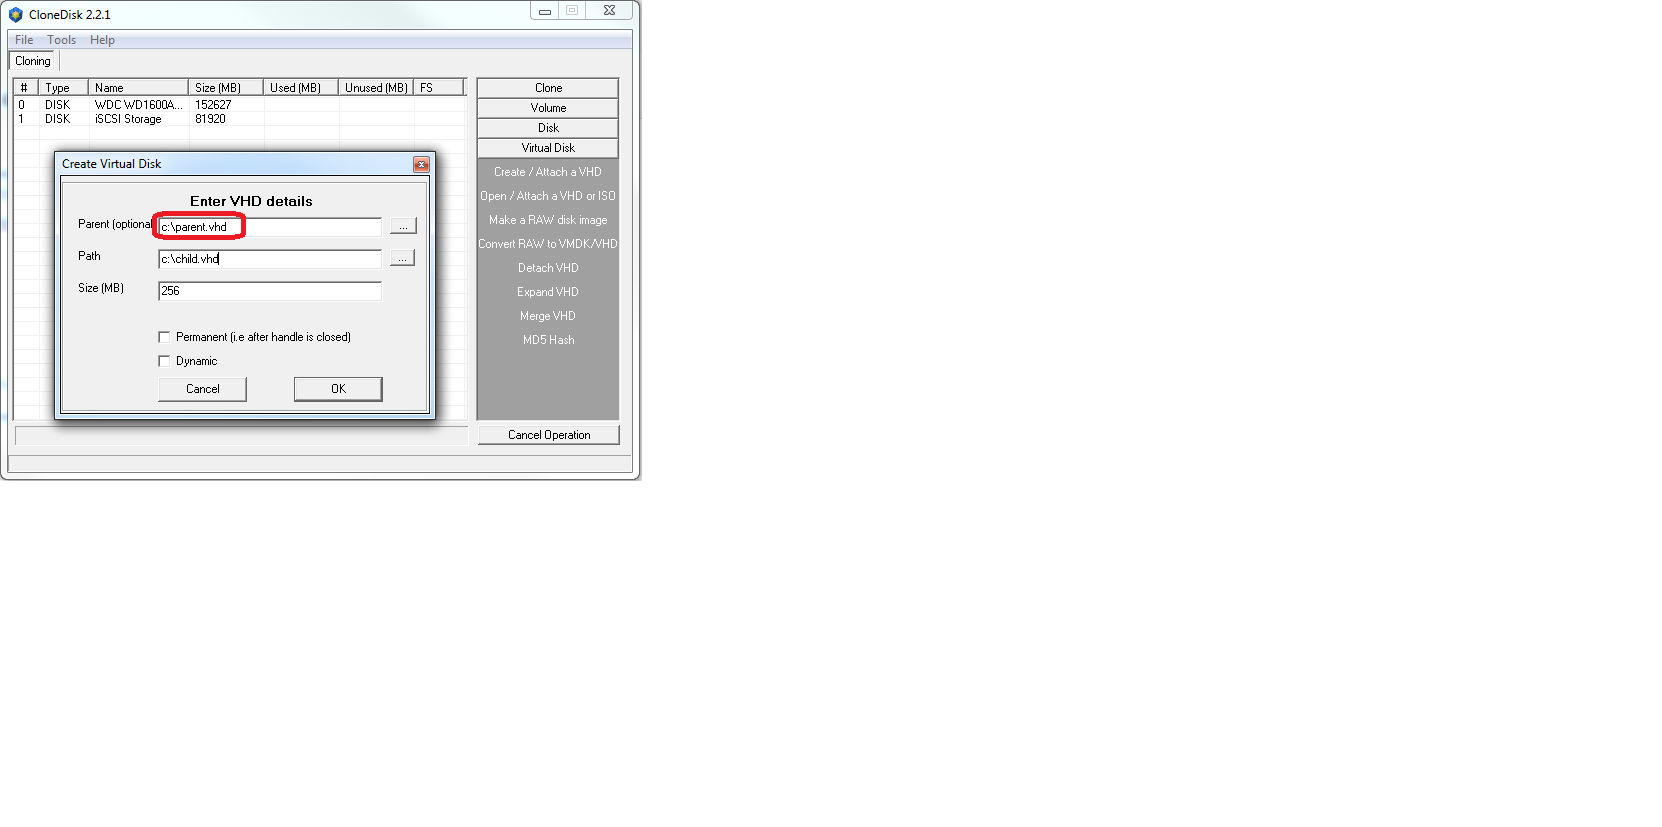
Note that disk.img must exist and must be at least as big as the source disk : CloneDisk can do it for you (under virtual disk / make raw disk) or use the linux command : dd if=/dev/zero of=disk.img bs=268435456 count=1 (268435456 is 1024*1024*256=256MB).
Note that you can compile devio for different hosts (windows, linux, etc) or else you can also run the windows exe on ubuntu (needs wine) if you are lazy (like me).

devio2

5.Backuping
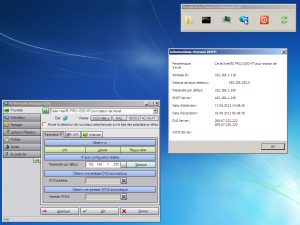
Once booted, ensure you have a correct network setup using PeNetwork : click on the info button.
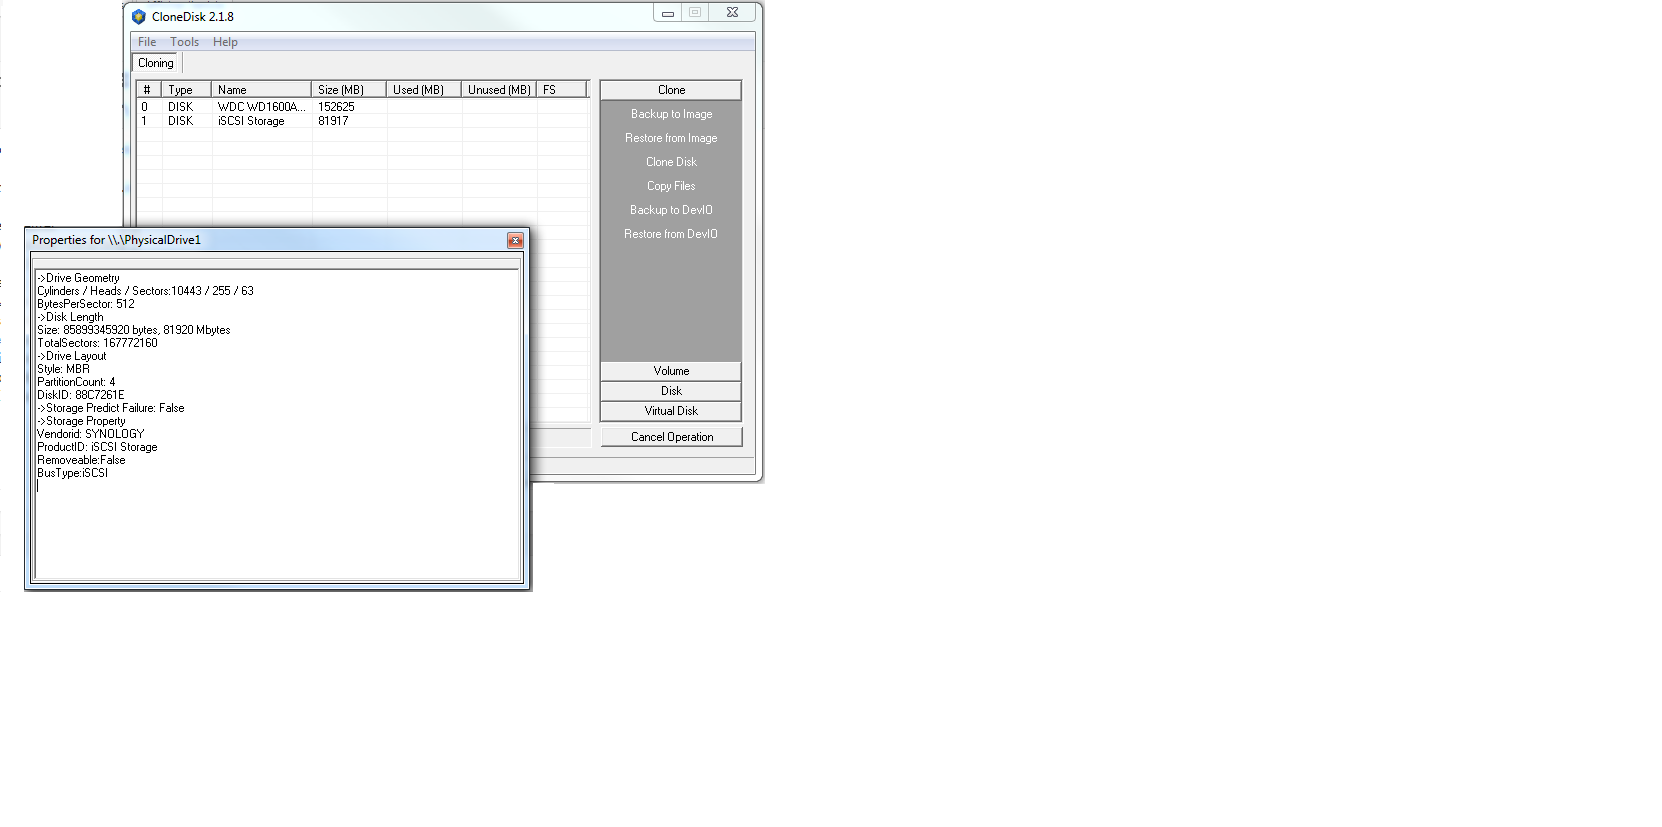
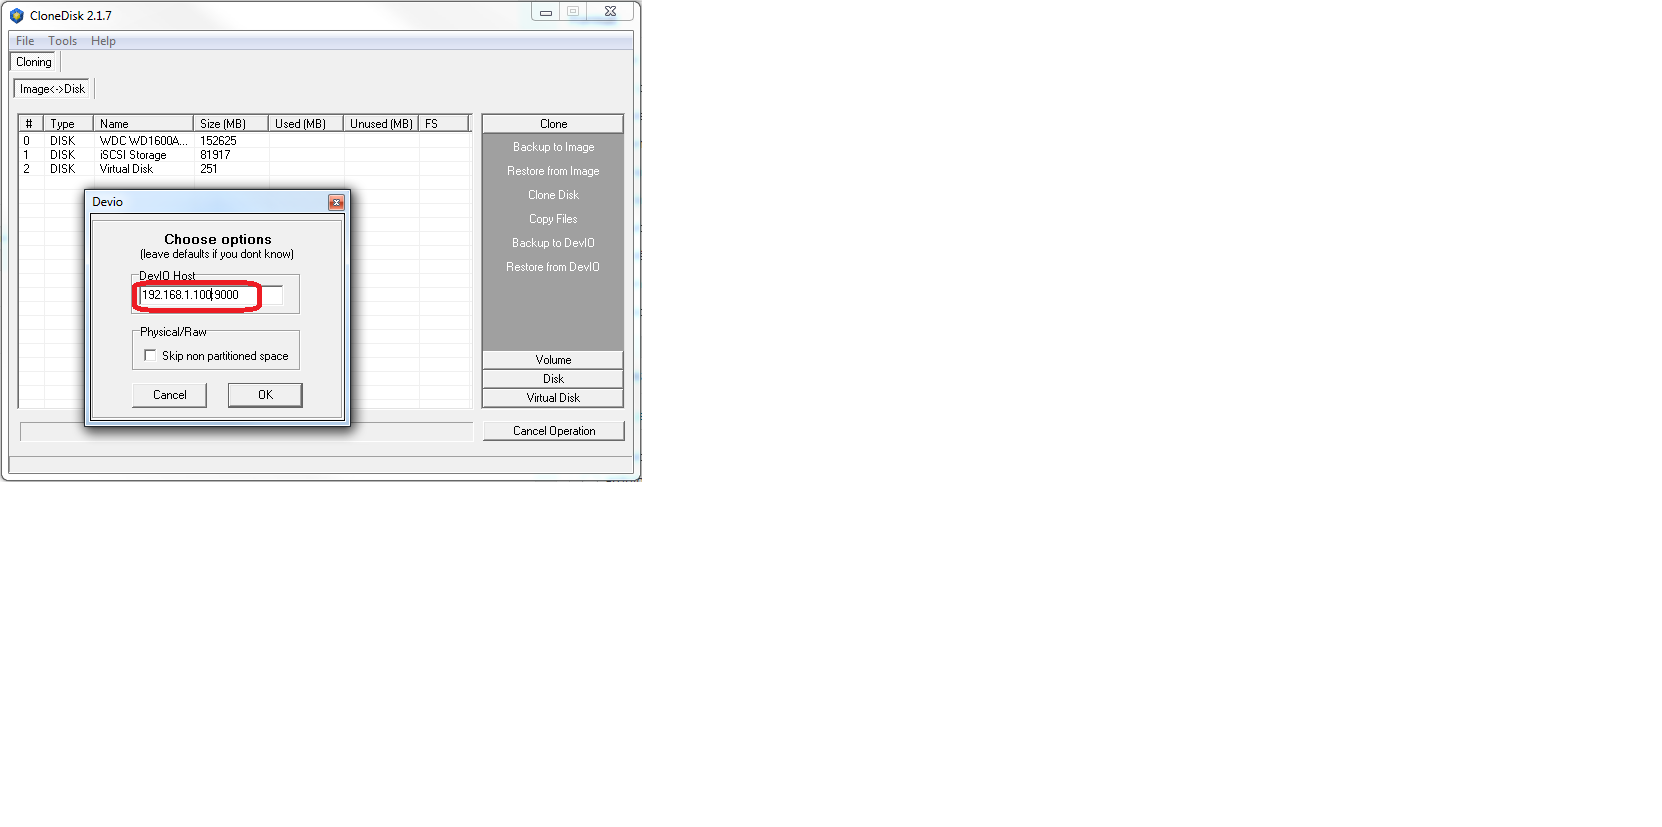
Now, launch clonedisk from x:\extra\clonedisk folder, choose your source drive and lets backit up to a devio target (see step 4).

clonedisk_winpe1

devio3

devio4

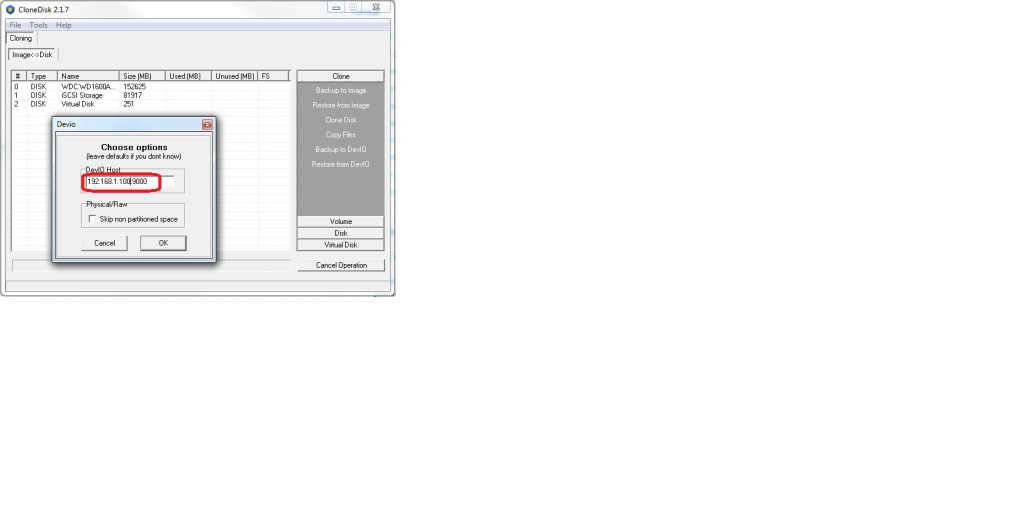
Once CloneDisk has completed its backup, you should see Devio close its connection.

devio5

 Posted by at 17 h 26 min
Avr 262014
 

It has been a while that I wanted to do this : a X64 version of CloneDisk.

My main drive was to use it from X64 bits WinPE’s.

Well thanks to Delphi XE, I was able (after much corrections) to compile it under a X64 environement.

CloneDisk page here.
Download X64 here.
Download X32 here.

 Posted by at 19 h 01 min
Avr 222014
 

Discuss it here

Download it here

Latest change log since previous version :

added : can patch the volume serial number (in boot sector)
added : can patch the hidden sectors (in boot sector)
added : can patch heads and secpertrack (in boot sector)
fixed : writing MBR or BS would not work (ressources not saved to current directory)
added : will refresh drives when on DBT_DEVICEARRIVAL/DBT_DEVICEREMOVECOMPLETE
added : generate random serial number (to patch boot sector)
added : create disk will now offer mbr, gpt or raw
fixed : create partition was adding one sector too much
fixed : create unique partition was not wiping partitions above 1st partition.
added : partition editor (using IOCTL_DISK_GET_DRIVE_LAYOUT)
added : delete partition in partition editor
added : create partition in partition editor
added : gpt support in partition editor (using IOCTL_DISK_GET_DRIVE_LAYOUT_ex)
added : gpt support in create partition (using IOCTL_DISK_GET_DRIVE_LAYOUT_ex)
added : gpt support delete partition (using IOCTL_DISK_SET_DRIVE_LAYOUT_ex)
modified : create a GPT partition when there is no partition yet
modified : IOCTL_DISK_GET_DRIVE_LAYOUT_ex before IOCTL_DISK_SET_DRIVE_LAYOUT_ex when deleting/creating a part
added : check disk, next to format using fmifs.dll
added : change partition type
added : change partition boot indicator
added : support for wimboot (windows 8.1 update 1 option)

clonedisk_216

 Posted by at 8 h 44 min
Avr 212014
 

In the previous article, we have seen how to benefit from the new wimboot feature of MS Windows 8.1 : install, capture with wimboot (from winpe), restore with wimboot (from winpe).

CloneDisk now also support wimboot (thru wimgapi.dll) for those who prefer a GUI rather than the DISM command line.

Capturing with the wimboot flag will make it so that the wim file will use a XPRESS chunk size of 4096 (vs 32768) and the image will have the extra flag wimboot.

Some facts :

-My clean install is around 13 GB.

-My wim file is around 7 GB.

-My « wimboot » install occupies « only » 3.5 GB  on drive C. (of which near 3 gigs are taken by hyberfil.sys, pagefile.sys, swapfile.sys)

Discuss it here.

wimboot_1

 Posted by at 21 h 53 min