Avr 212014
In the previous article, we have seen how to benefit from the new wimboot feature of MS Windows 8.1 : install, capture with wimboot (from winpe), restore with wimboot (from winpe).
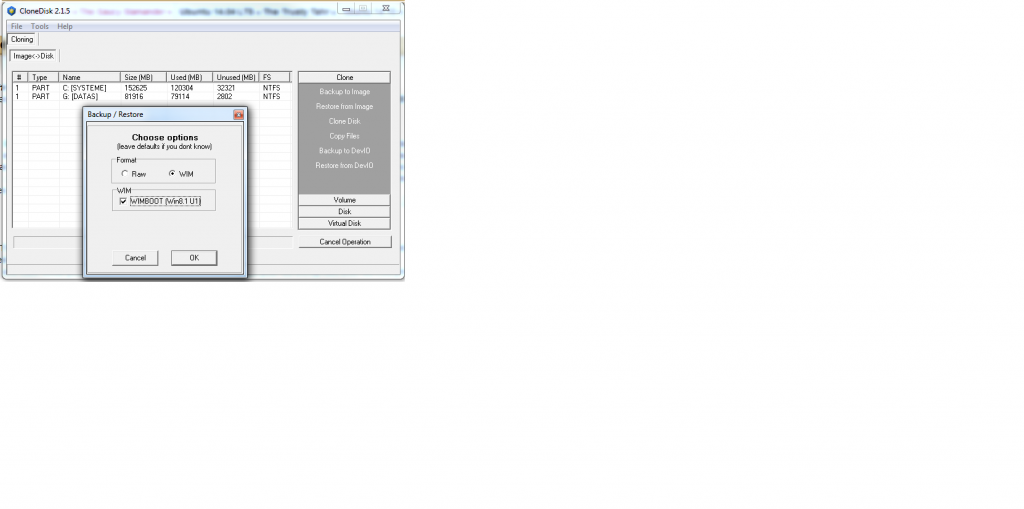
CloneDisk now also support wimboot (thru wimgapi.dll) for those who prefer a GUI rather than the DISM command line.
Capturing with the wimboot flag will make it so that the wim file will use a XPRESS chunk size of 4096 (vs 32768) and the image will have the extra flag wimboot.
Some facts :
-My clean install is around 13 GB.
-My wim file is around 7 GB.
-My « wimboot » install occupies « only » 3.5 GB on drive C. (of which near 3 gigs are taken by hyberfil.sys, pagefile.sys, swapfile.sys)
Discuss it here.

Hi Erwan.
Thank you so much for all tutorial about Windows 8.1 update 1 and Wimboot made easy.
I was try with this tutorial (part 1 and part 3), and it was work ok. My system infomations:
– Windows 8.1 update 1 (32 bit); 160gb hardisk (MBR).
I use windows 8 pe (Strelec 8pe).
But when I try use Clone disk to capture wimboot image. Nothing capture! Can you help me do it with Clone disk? Thanks again!
Hi,
Do you get an error message? a specific behavior?
Regards,
Erwan
I was try step by step
– Install windows 8.1 update 1 32bit (partition C)
– Setup some program and optimize OS
– Boot into Strelec windows 8 pe (do not have wof driver)
– Use Clonedisk capture parition C with wimboot option
– Nothing capture and do not show any error
what was i wrong? Can you help me?
Thank you so much!