More than once did I spend (lose…) long minutes on google to find the proper syntax with windows bcdedit command line.
I came with the quick batch below that will set different entries : win7, winpe, grub4dos, etc …
You need to edit the batch to set the path to your BCD store.
Beware that the BCD is overwritten each time.
Note that this is greatly (mostly) inspired from this page.
@echo off

setlocal

set BCDEDIT=%SYSTEMROOT%\system32\bcdedit.exe

set BCDSTORE=C:\temp\BCD
del %BCDSTORE% /F
rem create - rem if not needed
%BCDEDIT% /createstore %BCDSTORE%
rem create bootmgr entry
%BCDEDIT% /store %BCDSTORE% /create {bootmgr}
%BCDEDIT% /store %BCDSTORE% /set {bootmgr} description "Boot Manager"
%BCDEDIT% /store %BCDSTORE% /set {bootmgr} device boot
%BCDEDIT% /store %BCDSTORE% /set {bootmgr} timeout 20
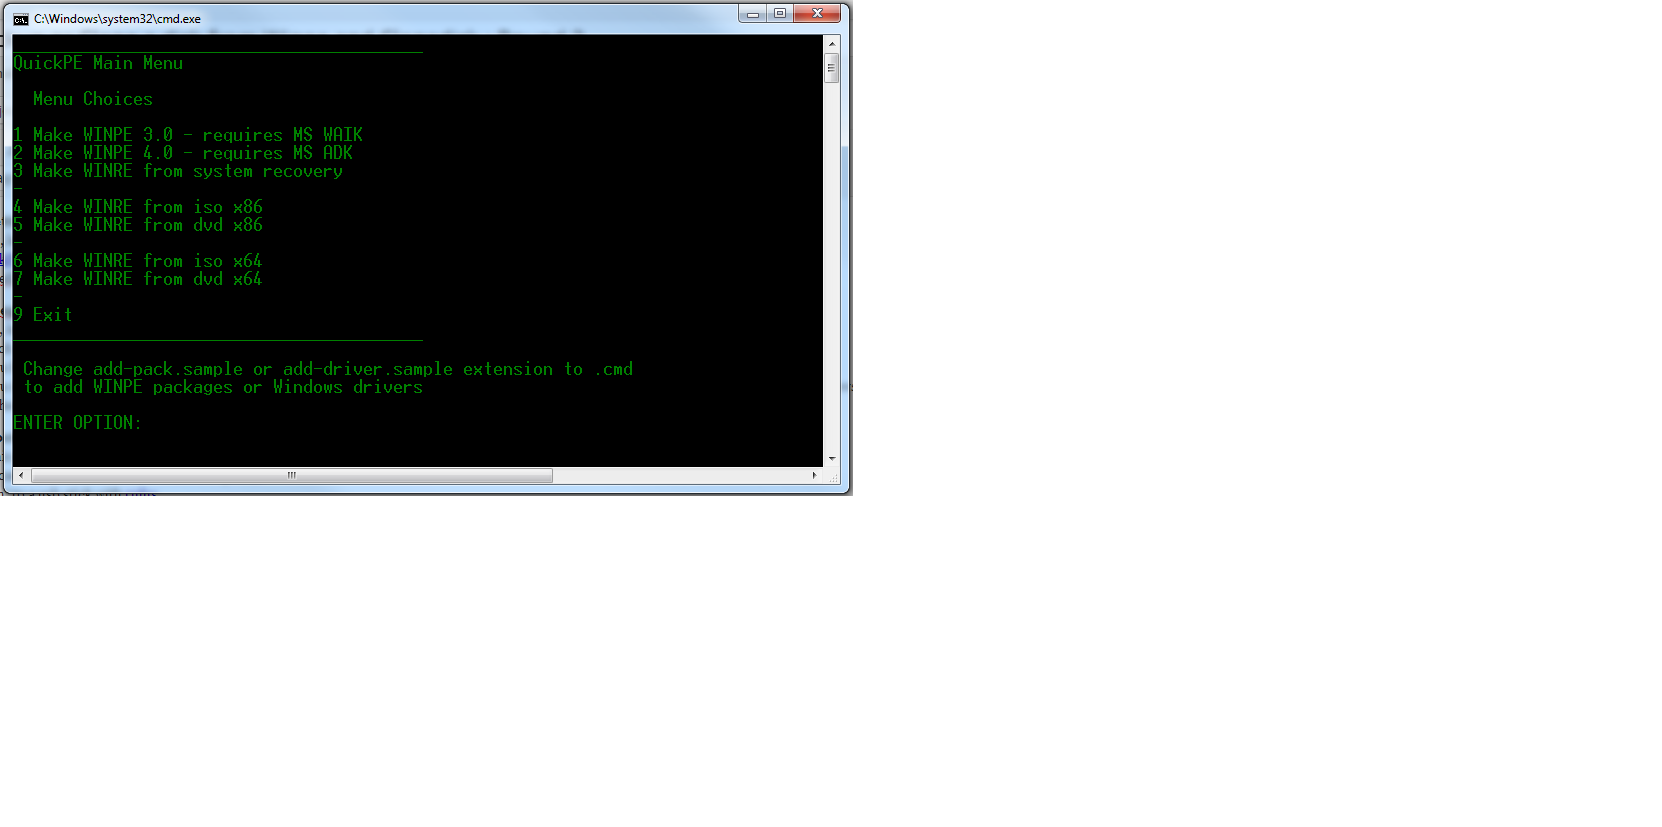
ECHO _________________________________________
ECHO BCDEDIT Main Menu
ECHO.
ECHO Menu Choices
ECHO.
ECHO 1 Add Win7
ECHO 2 Add VHDBOOT
ECHO 3 Add Grub4Dos
ECHO 4 Add Winpe
ECHO 5 Add RamDisk
ECHO 6 Add NTLDR
echo -
ECHO 9 Exit
ECHO _________________________________________
ECHO.
SET /P userChoice=ENTER OPTION:
if %userChoice% == 1 GOTO win7
if %userChoice% == 2 GOTO vhdboot
if %userChoice% == 3 GOTO g4d
if %userChoice% == 4 GOTO winpe
if %userChoice% == 5 GOTO ramdisk
if %userChoice% == 6 GOTO ntdlr
if %userChoice% == 9 GOTO QUITMENU
:win7
rem add new windows7 entry
for /f "tokens=2 delims={}" %%g in ('%BCDEDIT% /store %BCDSTORE% /create /application osloader') do set guid={%%g}
%BCDEDIT% /store %BCDSTORE% /set %guid% device partition=C:
%BCDEDIT% /store %BCDSTORE% /set %guid% path \Windows\system32\winload.exe
%BCDEDIT% /store %BCDSTORE% /set %guid% osdevice partition=C:
%BCDEDIT% /store %BCDSTORE% /set %guid% systemroot \Windows
%BCDEDIT% /store %BCDSTORE% /set %guid% description "Windows 7"
%BCDEDIT% /store %BCDSTORE% /displayorder %guid% /addlast
goto :eof
:ntdlr
%BCDEDIT% /store %BCDSTORE% /create {ntldr}
%BCDEDIT% /store %BCDSTORE% /set {ntldr} device partition=C:
%BCDEDIT% /store %BCDSTORE% /set {ntldr} path \ntldr
%BCDEDIT% /store %BCDSTORE% /set {ntldr} description "Windows XP"
%BCDEDIT% /store %BCDSTORE% /displayorder {ntldr} /addlast
goto :eof
:vhdboot
rem add new vhd boot entry
for /f "tokens=2 delims={}" %%g in ('%BCDEDIT% /store %BCDSTORE% /create /application osloader') do set guid={%%g}
%BCDEDIT% /store %BCDSTORE% /set %guid% device vhd=[C:]\disk.vhd
%BCDEDIT% /store %BCDSTORE% /set %guid% path \Windows\system32\winload.exe
%BCDEDIT% /store %BCDSTORE% /set %guid% osdevice vhd=[C:]\disk.vhd
%BCDEDIT% /store %BCDSTORE% /set %guid% systemroot \Windows
%BCDEDIT% /store %BCDSTORE% /set %guid% description "Windows 7 VHDBOOT"
%BCDEDIT% /store %BCDSTORE% /displayorder %guid% /addlast
goto :eof
:g4d
rem add grub4dos
for /f "tokens=2 delims={}" %%g in ('%BCDEDIT% /store %BCDSTORE% /create /application osloader') do set guid={%%g}
%BCDEDIT% /store %BCDSTORE% /set %guid% device boot
%BCDEDIT% /store %BCDSTORE% /set %guid% path \grldr.mbr
%BCDEDIT% /store %BCDSTORE% /set %guid% description "Grub4dos"
%BCDEDIT% /store %BCDSTORE% /displayorder %guid% /addlast
goto :eof
:winpe
rem add winpe
for /f "tokens=2 delims={}" %%g in ('%BCDEDIT% /store %BCDSTORE% /create /application osloader') do set guid={%%g}
%BCDEDIT% /store %BCDSTORE% /set %guid% systemroot \Windows
%BCDEDIT% /store %BCDSTORE% /set %guid% detecthal Yes
%BCDEDIT% /store %BCDSTORE% /set %guid% winpe Yes
%BCDEDIT% /store %BCDSTORE% /set %guid% osdevice ramdisk=[boot]\Boot\boot.wim,{ramdiskoptions}
%BCDEDIT% /store %BCDSTORE% /set %guid% device ramdisk=[boot]\Boot\boot.wim,{ramdiskoptions}
%BCDEDIT% /store %BCDSTORE% /set %guid% description "Windows PE"
%BCDEDIT% /store %BCDSTORE% /displayorder %guid% /addlast
goto :eof
:ramdisk
rem add ramdisk
%BCDEDIT% /store %BCDSTORE% /create {ramdiskoptions}
%BCDEDIT% /store %BCDSTORE% /set {ramdiskoptions} ramdisksdidevice boot
%BCDEDIT% /store %BCDSTORE% /set {ramdiskoptions} ramdisksdipath \Boot\boot.sdi
goto :eof
:eof
echo "this is the end..."