Yet another tool (batch) to generate a minimalist winpe iso using the Windows Assessment and Deployment Toolkit (ADK) or Windows Automated Installation Kit .
Uncompress to x:\quickpe and launch make.cmd.
Get winpe iso in x:\quickpe\%processor_architecture% .
Changelog:
- 0.2
- -make4.cmd will generate a winpe4.iso (using MS ADK)
- -make3.cmd will generate a winpe3.iso (using MS WAIK)
- 0.3
- -winre.cmd will generate a winre.iso (using local WINRE)
- 0.4
- -any files/folders in \pe_extra will be added in the wim file in the \tools folder
- -winre.cmd renamed to make_re.cmd to be consistent with make_pe3.cmd and mape_pe4.cmd
- -added setres to the zip file.
- 0.5
- -added make_re_from_iso.cmd which will generate a winpe iso based from a windows 7 or 8 iso.
- -added make_re_from_dvd.cmd which will generate a winpe iso based from a windows 7 or 8 dvd.
- -added a dpinst GUI so that one can easily load drivers from a driverspack.
- 0.6
- -added : compatibility with x64 hosts for winpe4
- 0.7
- -added : add-pack3.sample, add-pack4.sample (rename to cmd to add a winpe package in winpe3 or winpe4)
- -added : _run_me.cmd as a main menu
- 0.8
- -added : x64 tinyshell
- 0.9
- -modified : reviewed code so that it all works on x64 platforms
- -added : add-drivers3.sample, add-drivers4.sample (rename to cmd to add a windows drivers in winpe3 or winpe4)
Download/Discuss it here
The batch menu :

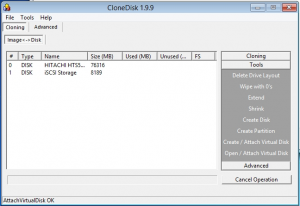
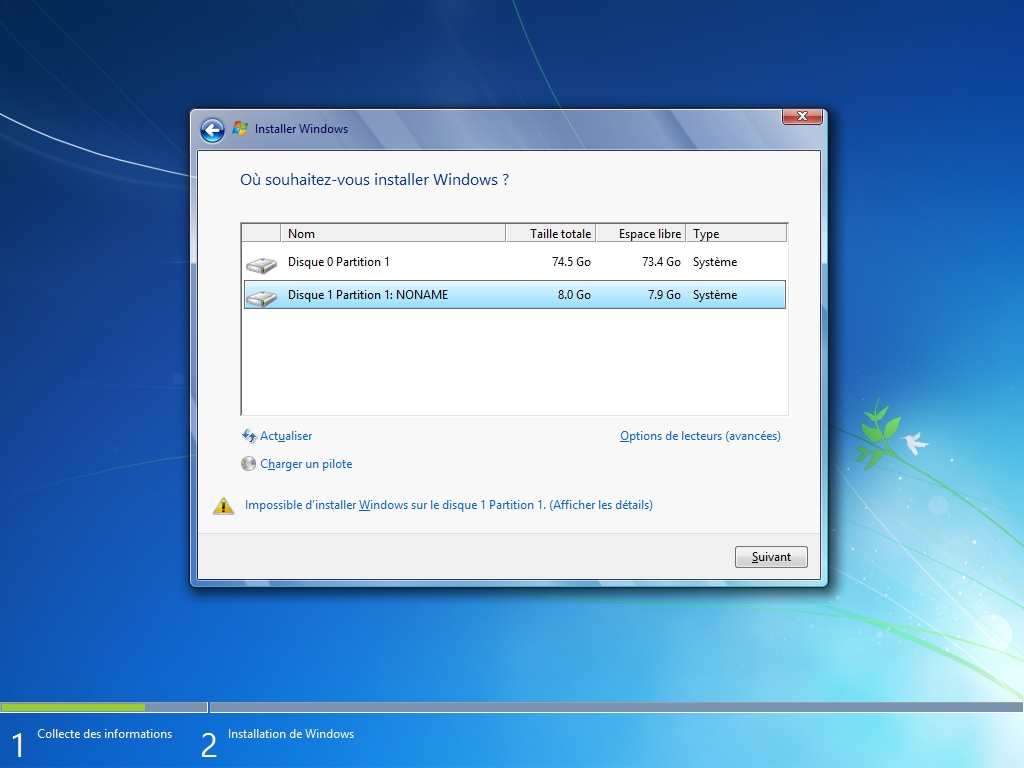
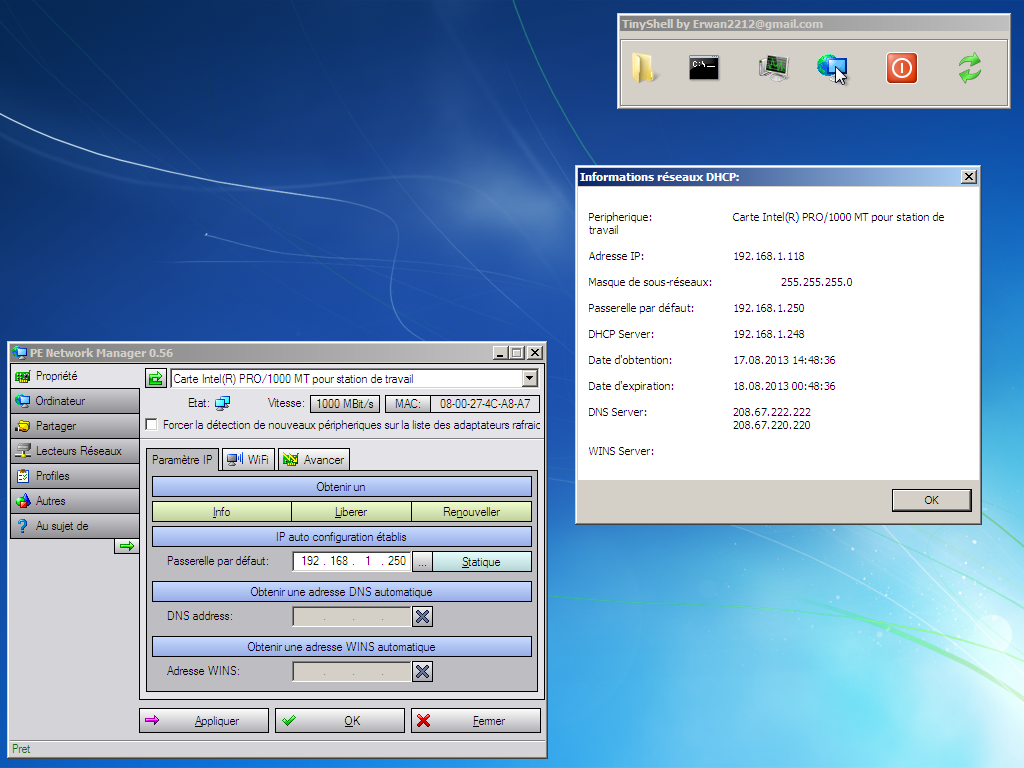
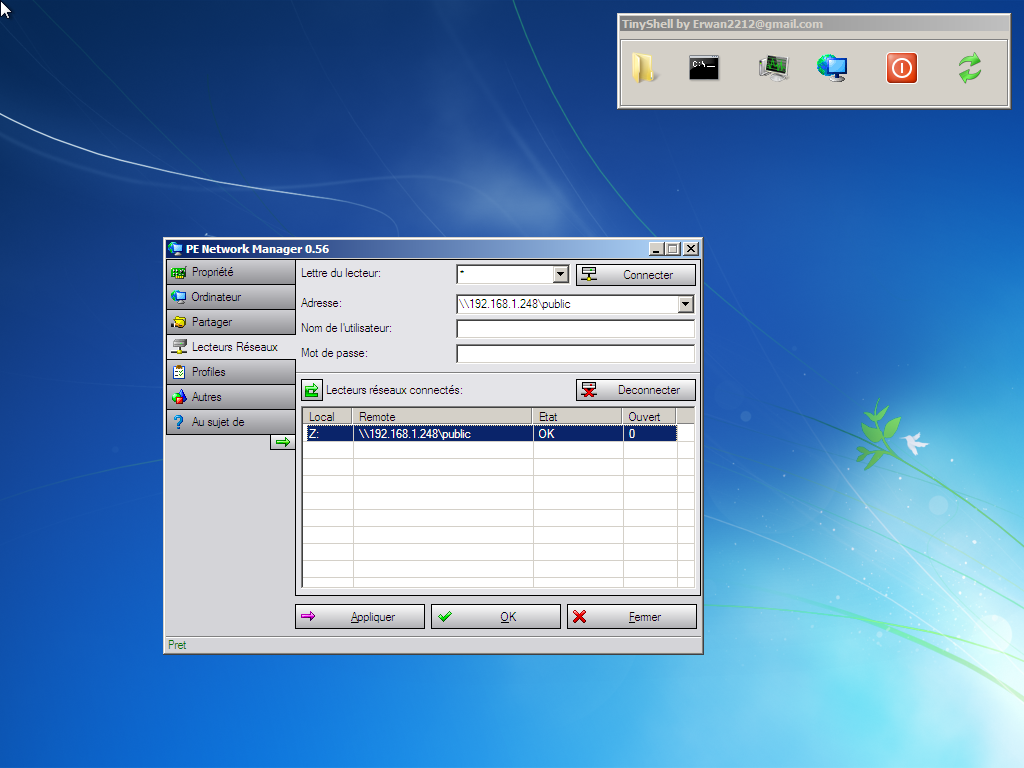
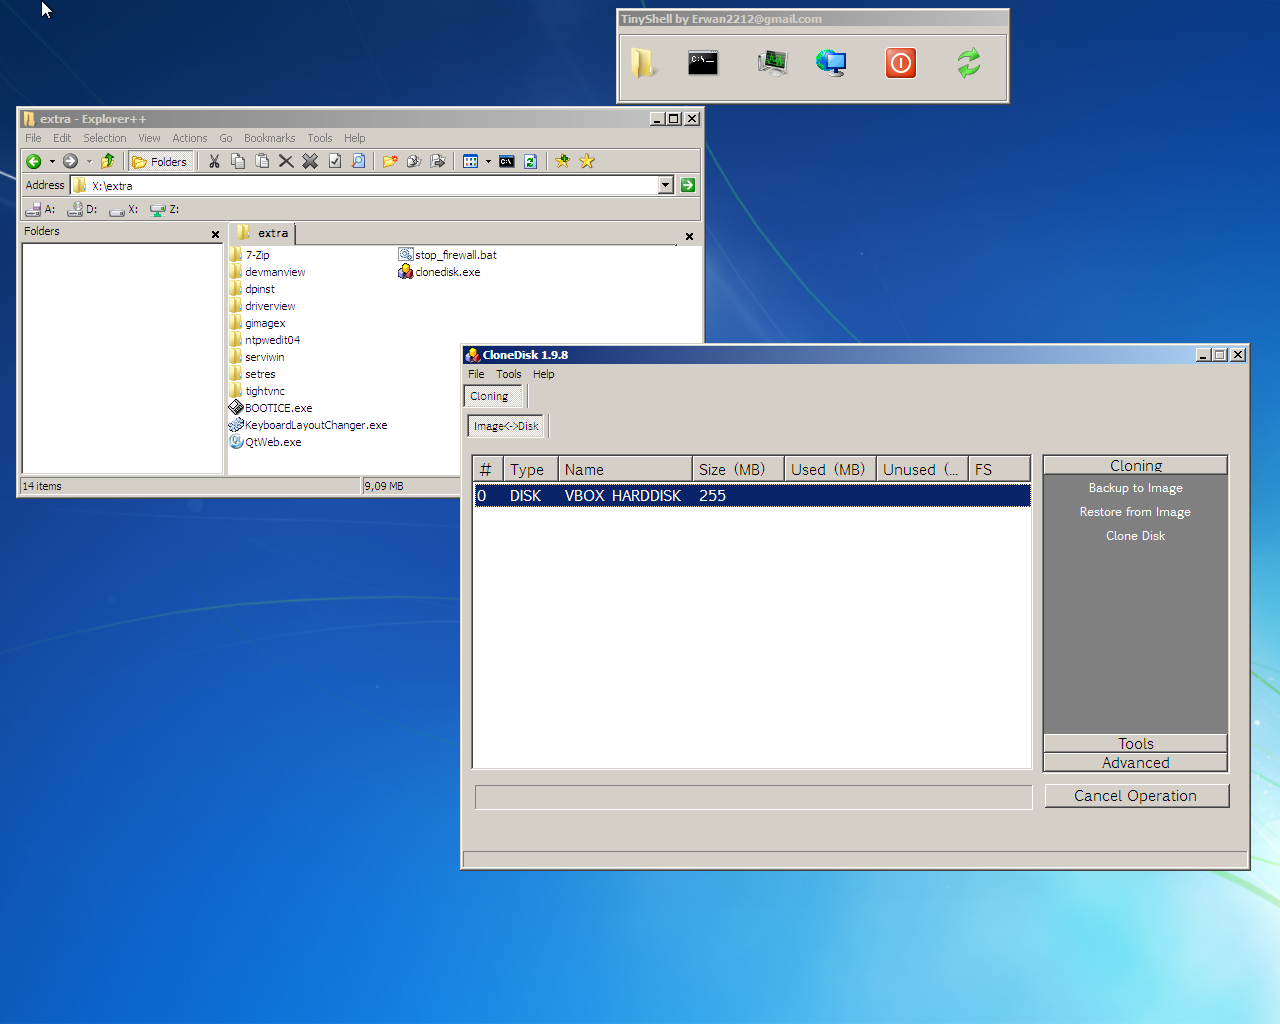
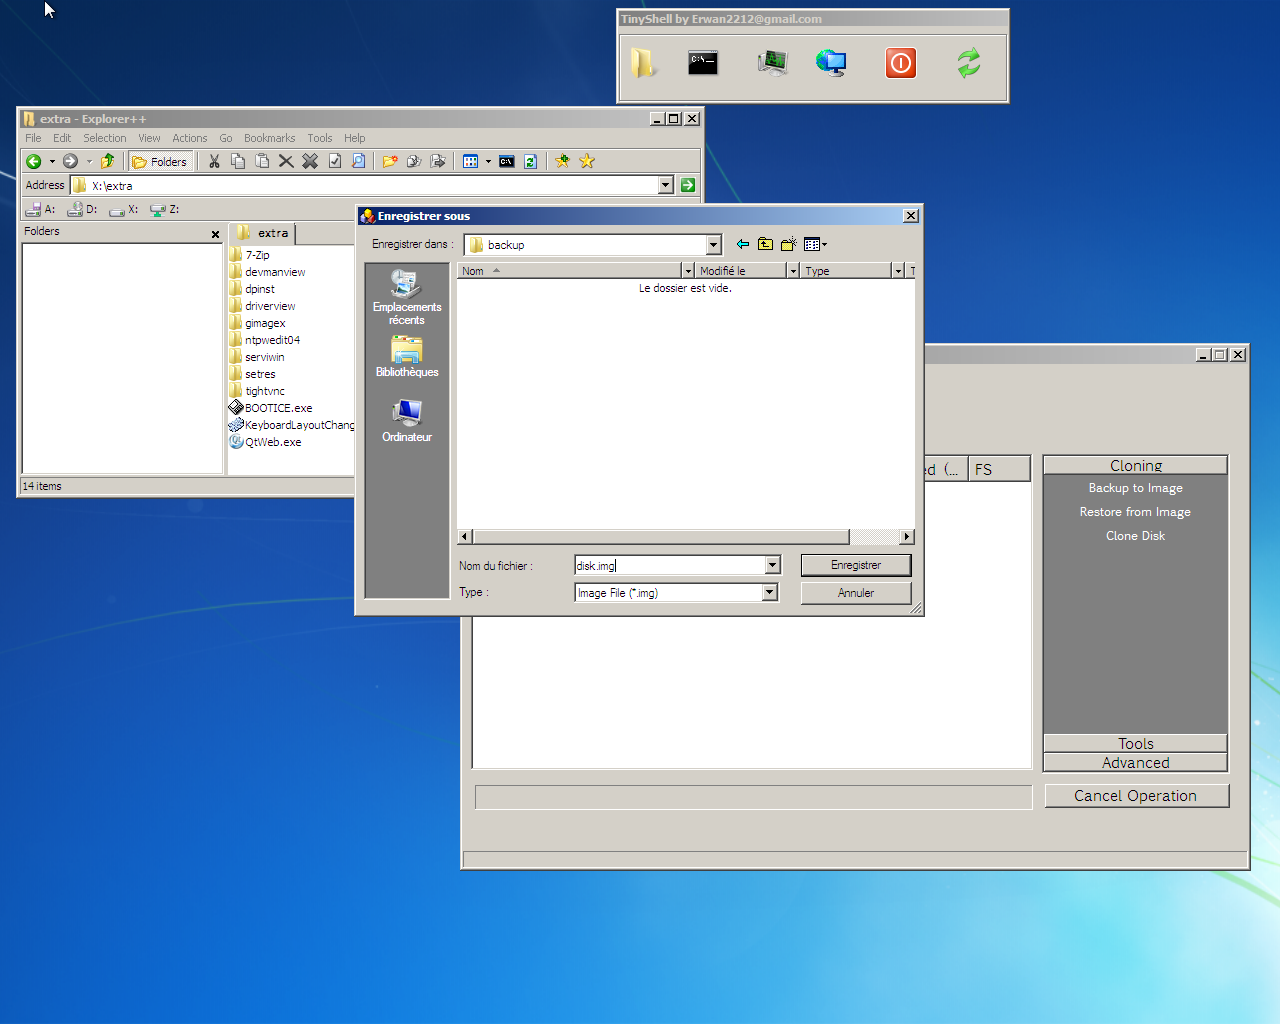
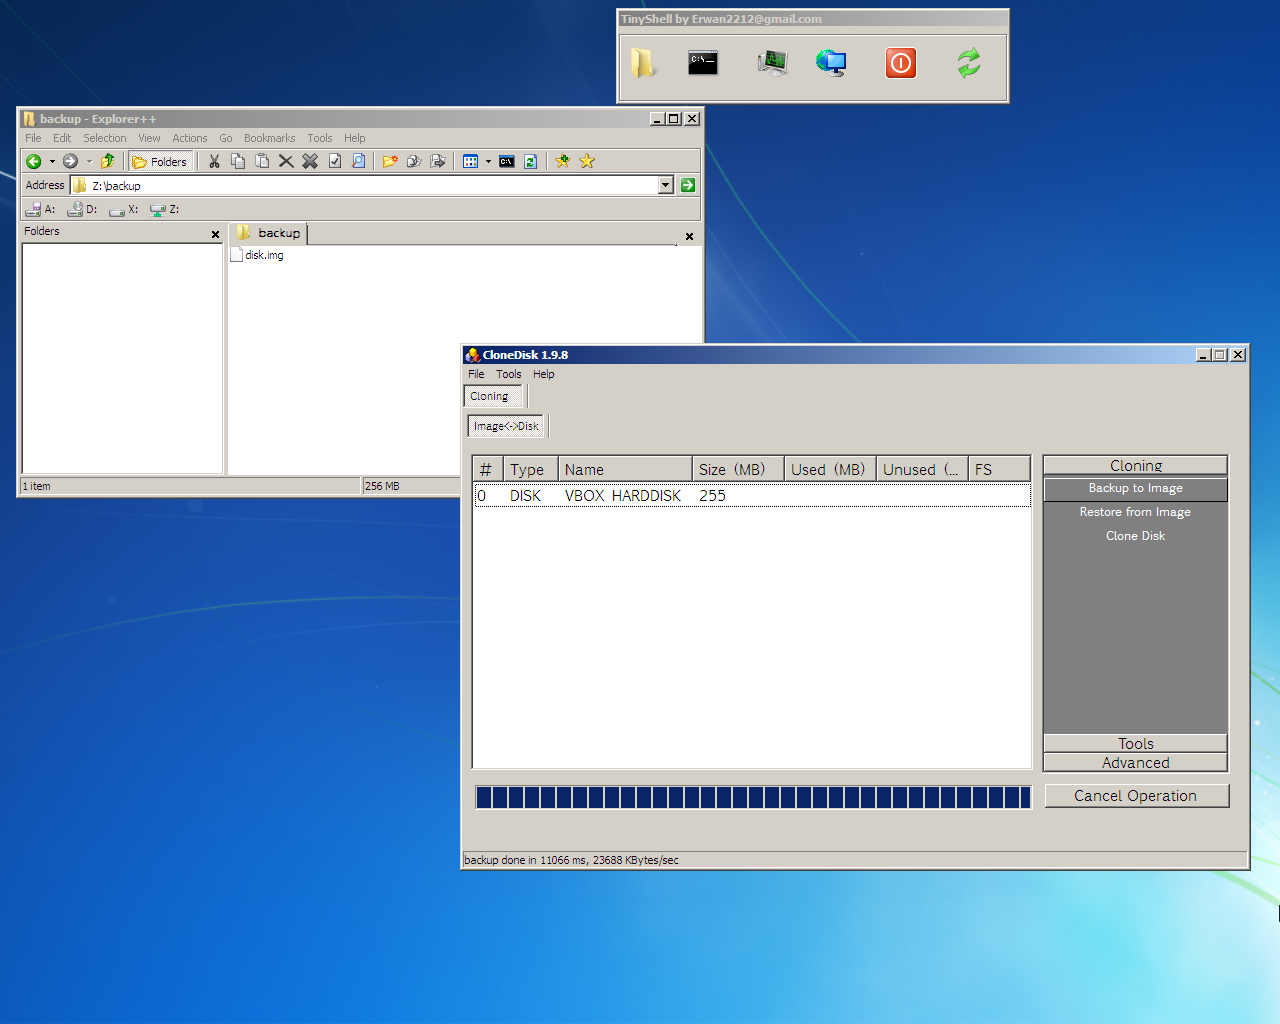
A generated Winpe :