In the previous article, we have seen how to benefit from the new wimboot feature of MS Windows 8.1 : install, capture with wimboot (from winpe), restore with wimboot (from winpe).
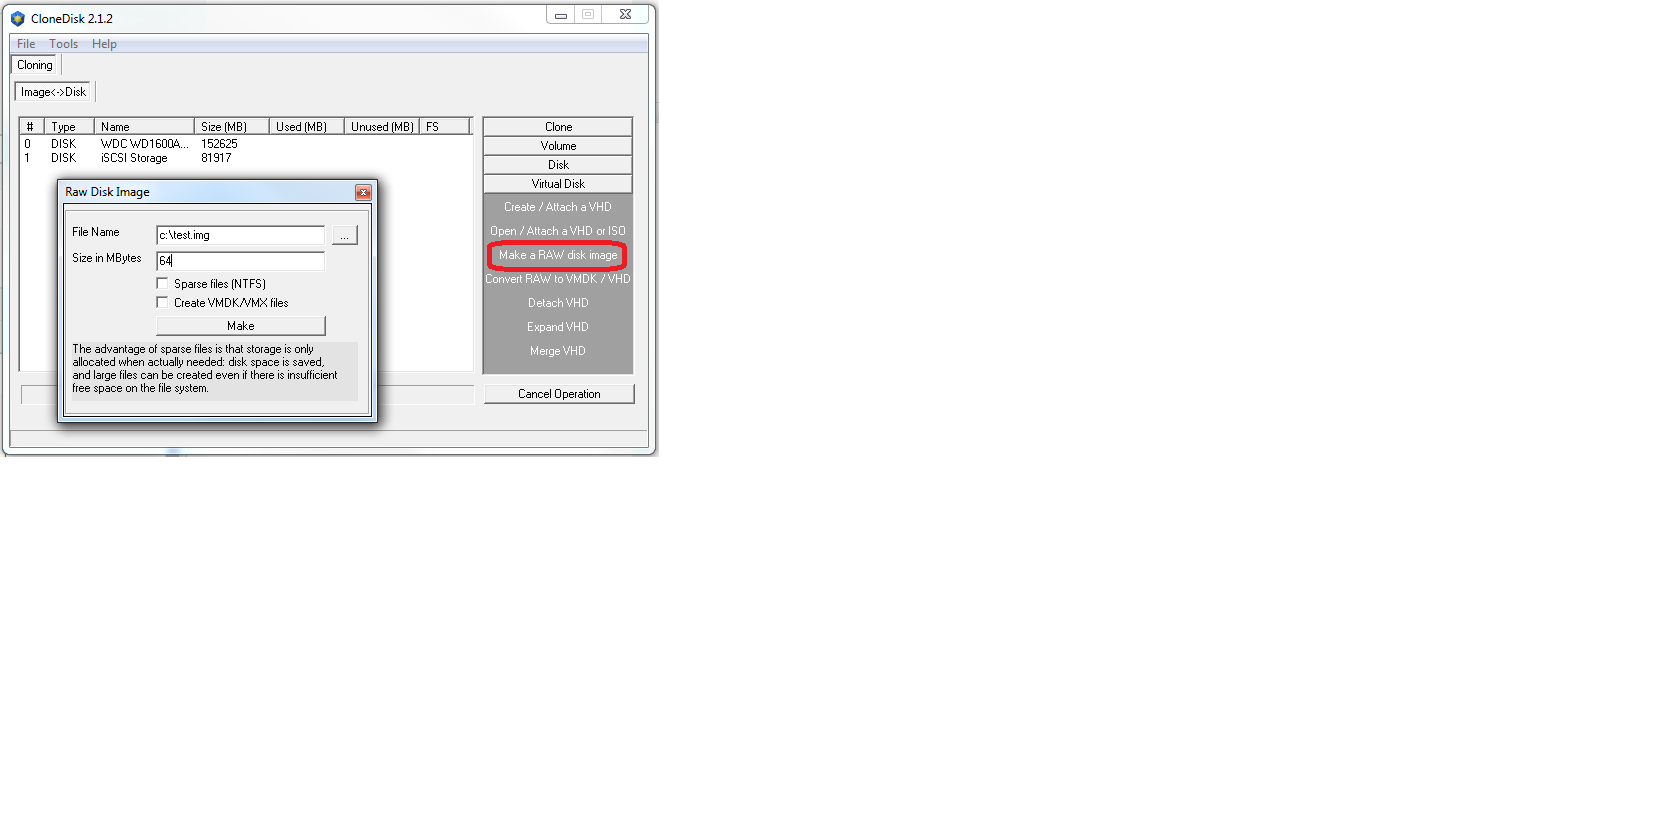
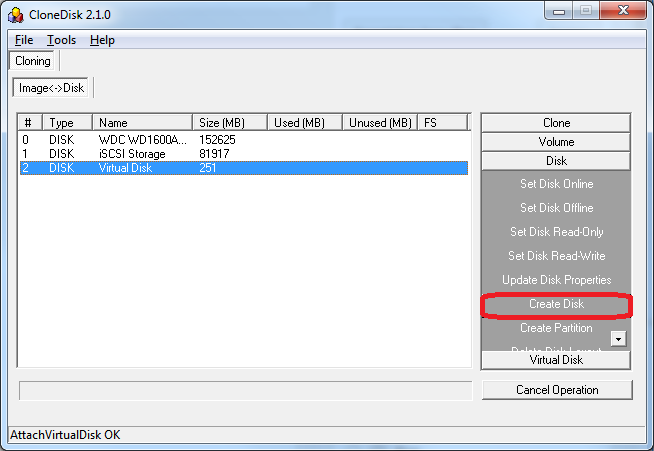
CloneDisk now also support wimboot (thru wimgapi.dll) for those who prefer a GUI rather than the DISM command line.
Capturing with the wimboot flag will make it so that the wim file will use a XPRESS chunk size of 4096 (vs 32768) and the image will have the extra flag wimboot.
Some facts :
-My clean install is around 13 GB.
-My wim file is around 7 GB.
-My « wimboot » install occupies « only » 3.5 GB on drive C. (of which near 3 gigs are taken by hyberfil.sys, pagefile.sys, swapfile.sys)
Discuss it here.